Showing posts with label Casting. Show all posts

Saturday, 9 February 2013

Casting a Chaotic Evil Warrior

The First Cast from my new Chaotic Evil Warrior mould.
I am really pleased with how this has come out. 

The Grey stuff master

Mould layout prior to silicone

That waiting game while the silicone cures.

First cast straight out of the Mould. There are still some issues I need to sort out in the mould like the back of his head and the gut plate.

Coming soon: Painting a Chaotic Evil Warrior

Saturday, 15 September 2012

K'daai Fireborn with big hats

While Warhammer Forge make great K'daai Fireborn, I don't have £36.00 for 3 models. I do however have lots of hobby time to fill, grey stuff and troll molds which look like this when mixed together.

 Once I'd got the face so I was happy with it, I decided to save some effort with a spot of Instant Mold I've not tryed Instant Mold with Grey stuff which is why I've used Green stuff. I've not quite finished the one on the left, I'd left the grey stuff a little too long to get the flames to work last night so I stripped it off to try again later. 


Friday, 7 September 2012

40k bases with something to stand on them


Here are the Warhammer 40,000 bases I cast recently with models stood on them. I've got molds with heads and arms in production but I've run out of RTV silicone so I need to pop down to Brentford for some more. until I've got some more this project is in a bit of a holding pattern.


Friday, 31 August 2012

Warhammer 40,000 bases

First casts of my new 40k bases fresh from the mold. They need a little clean up work but I'm pleased with them. The scruffy background is my cutting mat. It saves me trying to get all the overspray, dripped glue and resin off the table. I should get these painted this evening and some figures on them soon.


Saturday, 11 August 2012

Hobgoblins

I've not posted for a while because I've been trying to finish off this. It feels like i've painted nothing but hobgoblins for months. First up is a horde of hobgoblin archers. There's 40 of them with unit fillers


Then there is a unit of 35 hobgoblins with shields and axes. I've got more of these in the pipeline.


Sunday, 8 July 2012

Square resin bases

As I've started casting my own figures I need something for them to stand on.
I sculpted a cobblestone pattern on to 20mm bases and took a mold from them. 
Here they are cast and painted.
20mm paving stone bases

I sculpted these two last night and I'm going to sculpt another 2, when I've got more green stuff

40mm paving stone bases 


Saturday, 16 June 2012

Metal casting

Just cast my first white metal miniature! I was expecting it to be really dificult but it was surprisingly easy. There is a slight miscast on the toes but that will just take some fiddling with the mold.

Update:

Hobgoblins and Hobgoblin archers fresh from the mold
I've just got to cast some bases to put them on now. 


Tuesday, 5 June 2012

Step by step mold making part two

this is the second part of a two part post, start here for more sense

Step 5: the dark side of the mold


Once the wait is over I turned the mold over and took the Lego off the outside. Then I eased off the plasticine so as not to shift the model in the silicone.
This is the B side. I then rebuilt the Lego retaining wall and filled in the back of the base with plasticine to help the resin flow through. It then got a thorough but fine coat of Vaseline. 
Step 6: Another mix


17.5g of catalyst made up to 175g of silicone then mixed to a smooth even colour like this
Step 7: the pour once more


Like in the first part of this post I drizzled the details then poured the rest over slowly. Pouring into the lowest part of the mold so it spreads evenly


I then did my best to rid the silicone of bubbles. Eventually I got most of the bubbles and left it to cure and dry fully somewhere nice and level.

Thursday, 31 May 2012

step by step mold making

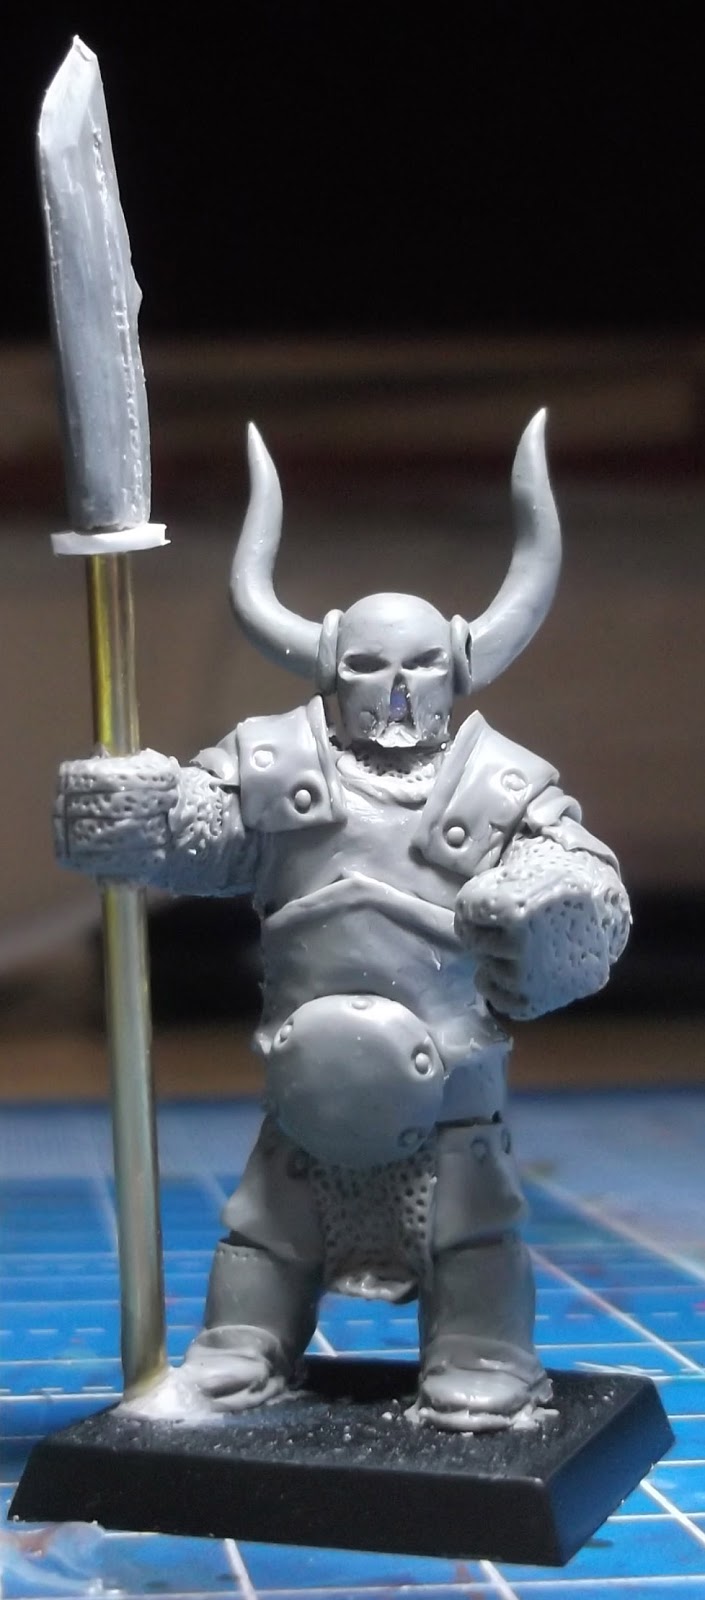
Last night I started work on a second RTV Silicone mold of a troll. I intend to cast a couple of units to use in a Throgg list and I'll convert them after casting for variation in the unit.

Here is a photo guide of how I built this mold.
Step one: Plasticine and lego

roll out some plasticine to about 1cm thick, Press the master into the plasticine so it is about half way in. Smooth the plasticine flat next to the master. Square up the edges and build a Lego retaining wall. Marbles pressed into the corners help the mold lock together. strips of sprue allow the resin to flow between the base and the troll. I press a Lego brick into the plasticine around the model to help it lock together.
Once this is done I coat the whole lot in a very fine film of vaseline to act as a mold release agent.

Step two: weights and measures

I covered the mold with a sheet of cling film then filled the mold with flour to get the weight of silicone I would need. Further down the line I found this didn't work well enough as there was too much air in the flour so I hadn't mixed enough silicone. I'll use uncooked rice next time as that worked well for the first mold I made. I needed 175g of Silicone to fill the mold so I measured 17.5g of the catalyst as the silicone I'm using mixes at 10% catalyst by weight. I then made up the weight to 175g with the Silicone.

I carefully mixed the silicone so it was an even colour. any unmixed bits do not set leaving a sticky runny mess.

Step three: Pouring
I drizzled the silicone over the model carefully to try and minimise air bubbles. There is no rush to complete this next stage. The silicone stays workable for at least an hour and a half.


once I'd got this far I poured the rest of the silicone from a reasonable height in a thin stream into the lowest spot of the mold. This stretches the silicone to remove air bubbles. Air bubbles are the enemy in mold making as they will wreck the detail on your master and weaken the mold. 
After pouring I vigorously jiggled the mold to rid it of as much air as possible. Professional mold makers use a vacuum chamber to pull out as much air as possible but that equipment is expensive.

Step four: the waiting game

Once you are happy that you have got as much air out as you can. Put the mold somewhere flat and level and go and do something else. It takes at least 12 hours before you can do the next bit.

I'll add the next stage later. I'm just about to go and do it

Wednesday, 30 May 2012

First steps in resin casting.

I've just made my first mold for casting resin miniatures. I used a battle for skull pass dwarf as a start for the conversion. I changed the shield design to the rune of Hashut and the face to a Cthulhuesqe mask.
I'll post about mold making when I make the next mold. It is surprisingly easy with the proper research. There was some major raiding of the toy box to make the mold; Lego, Marbles and Plasticine all went walkabout.
here are some pictures of the first cast and the first 5 undercoated.


This one suffered a little from air bubbles. I think the temperature was a little warm outside for casting.